Faculty Grant: Photographic Lighting
Back in November, I posted about a little grant I received from Hamline University (where I teach). I basically received nearly $600 for travel, lodging, film, and processing to work for a few days on different lighting set-ups and scenarios. The idea is that the light kits are underutilized at Hamline (as there's no official studio [might be coming soon!]), so if I were able to spend some time "out in the world" doing household and tabletop set ups, I could teach to that point better. This post is not EVERYTHING I shot on the trip, but it shows my workflow through the long weekend. It will be a bit "wordy" as I will explain some of these set-ups.
First, a bit about the cabin where I stayed (miles from my family responsibilities so I could concentrate on photography):
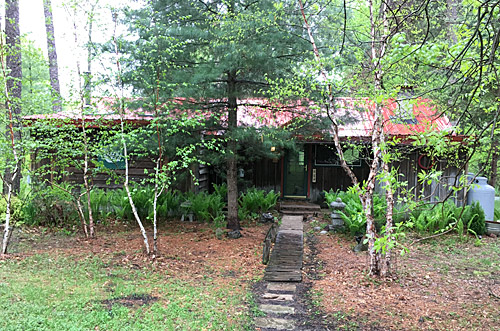
Deep in the trees, with a river right up to the back door.
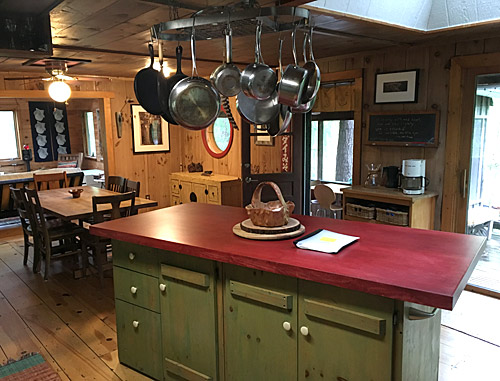
In the kitchen, looking through the dining room and into the living room in the distance.
With a deck door on the far right, and a screened-in porch right-of-center.
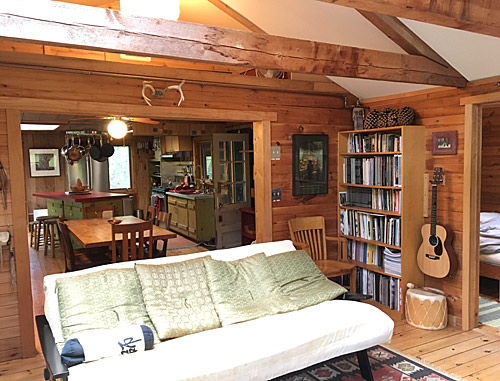
From the opposite corner in the living room. That's the bedroom door to the right.
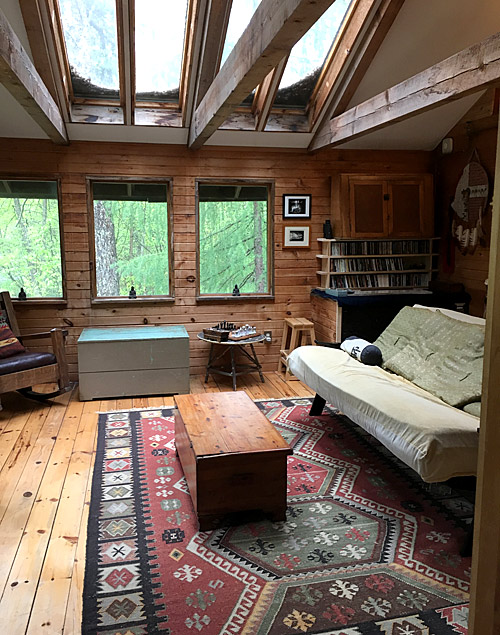
Looking out of the bathroom to the pine needle-laden skylights of the living room.
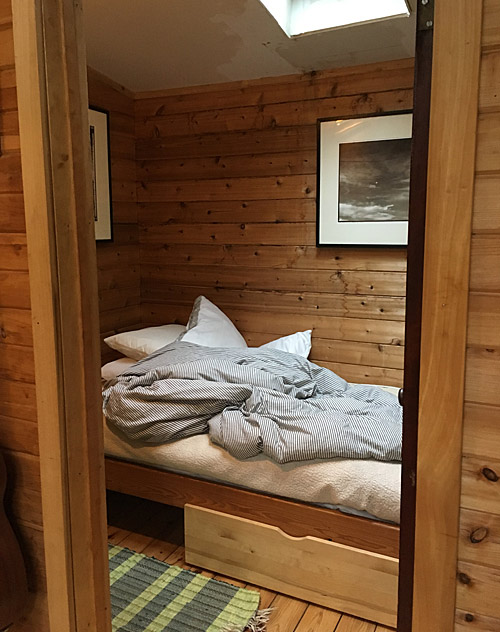
The tiny bedroom. I could touch the north and south walls at the same time.
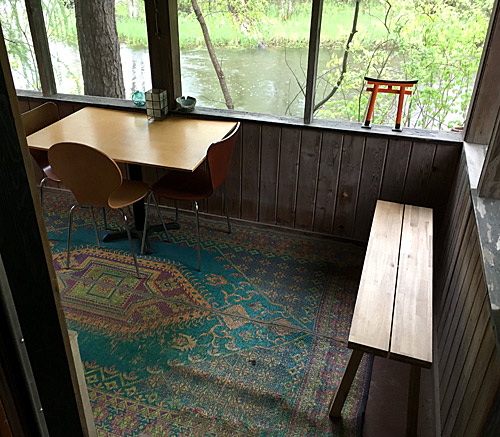
The screened-in porch off the dining room. And yes, the river is THAT close.
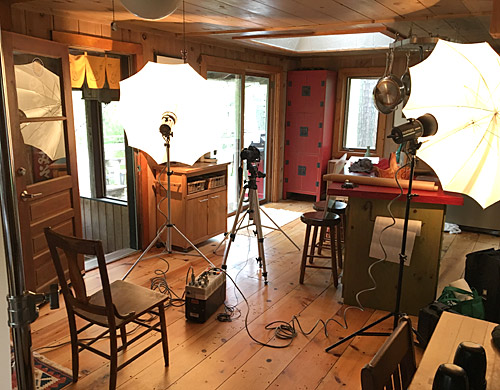
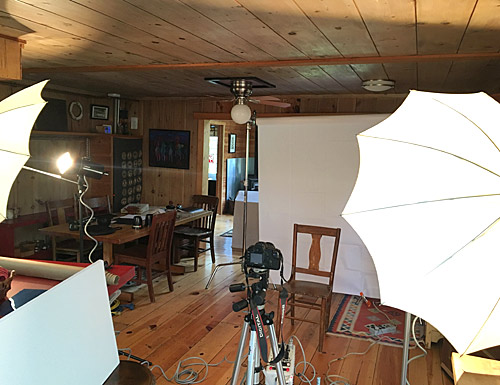
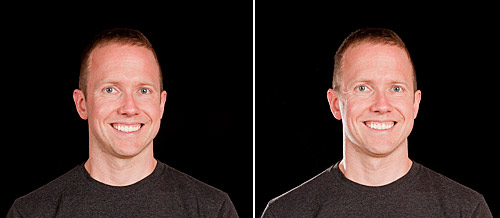
[Enlarge] 2-point on the left, 3-point on the right. Notice how my left shoulder and the
left side of my hair stands out much more from the background on the right.
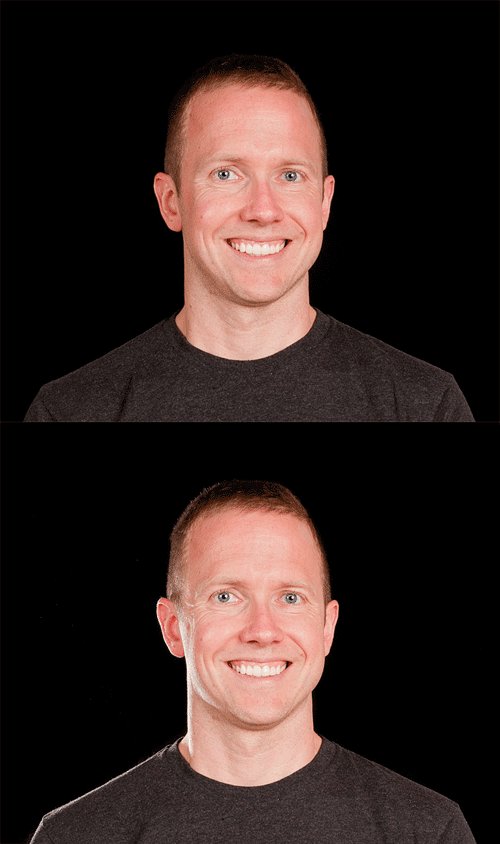
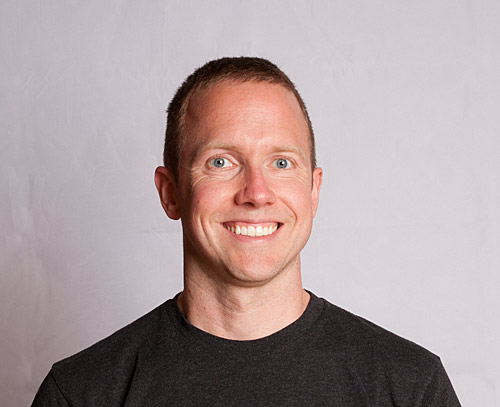
[Click to enlarge] Only 1 light.
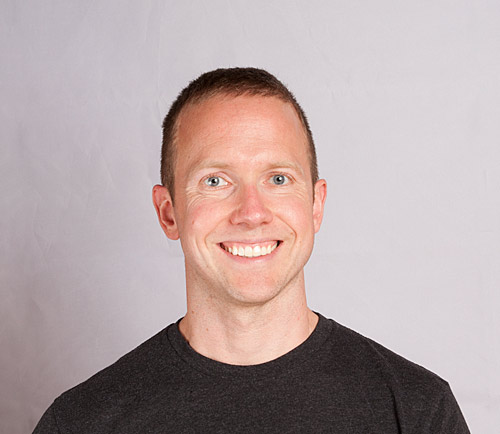
[Click to enlarge] Still only 1 light, but I'm holding a bounce just to the left to reflect light back.
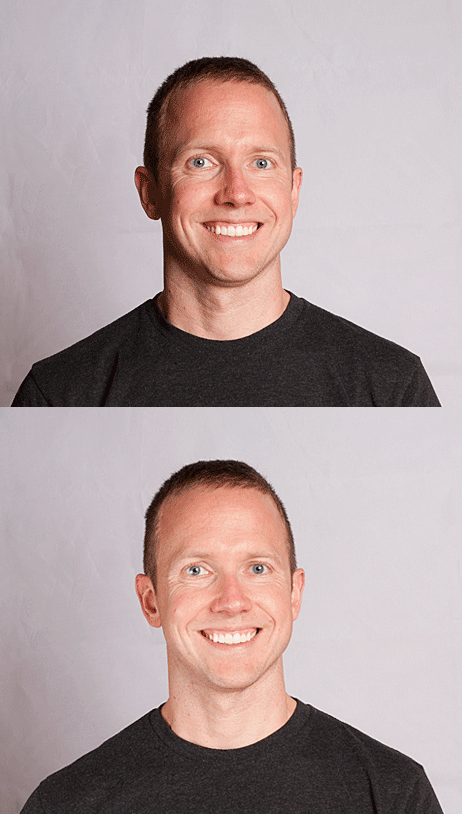
Another gif showing the 2 images. Notice even the upper right on
the background lightens up because the bounce is bouncing light up that high!
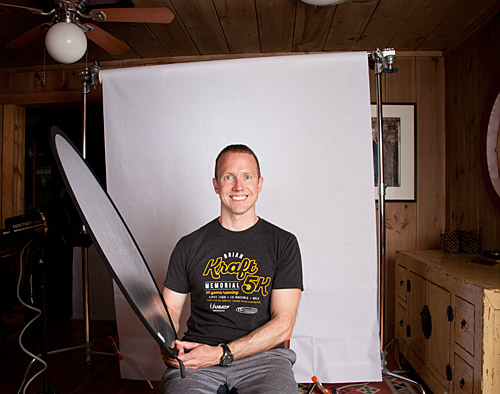
Another wider version showing me holding the bounce.
Then I headed outside and played around with some close-up filters as it started to get dark on my first day:
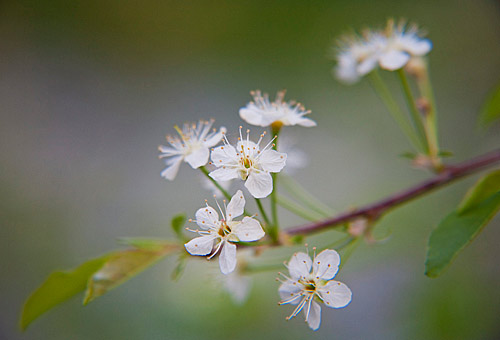
[Click to enlarge]
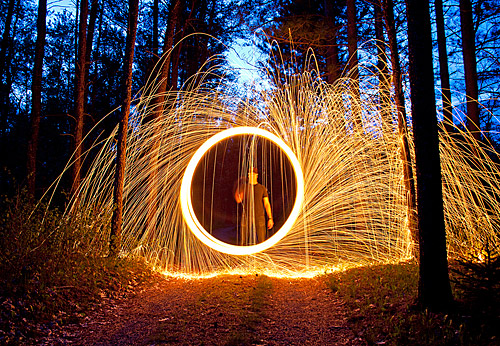
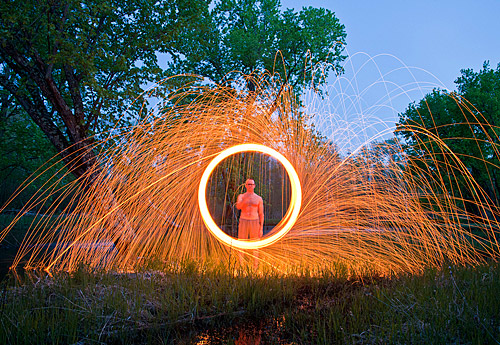
[Click to enlarge] A long exposure shot of spinning burning steel wool after dusk.
A few people who initially saw this photo asked about how it was done, and I actually created a video the first time I tried it. (I believe that photo above was the 2nd time I tried it.) If you want to know how it's done, prepare to be UNDER-whelmed by this video, because it's much more dramatic in the resulting still photo than it is in "real life" or a video:
I changed around the dining room photo studio a bit after dark, and got to bed after 11 p.m. Then I got up at 3 a.m. in order to head out to make some work for my "4 a.m. series." I drove 30 miles into Taylors Falls, MN:
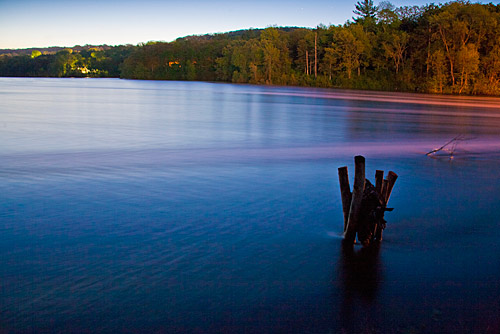
[Click to enlarge] The St. Croix River at 4:15 a.m.
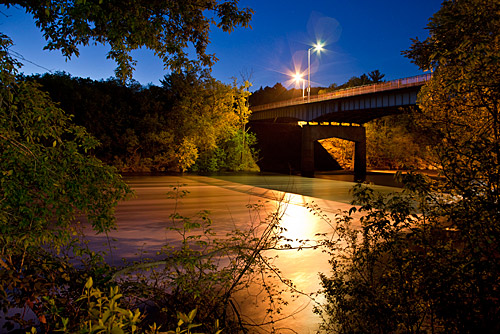
[Click to enlarge] Under the Hwy 8 Bridge connecting MN and WI at 4:22 a.m.
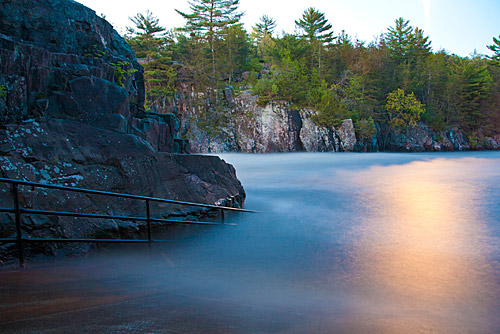
[Click to enlarge] The waves crashing off the riverboat ramp at 4:40 a.m.
This was a 2 minute exposure, and that's the moon reflecting on the river.
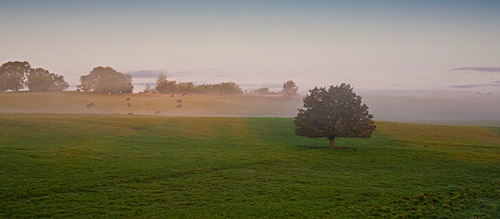
A foggy drive back to the cabin as the sun started to come up.
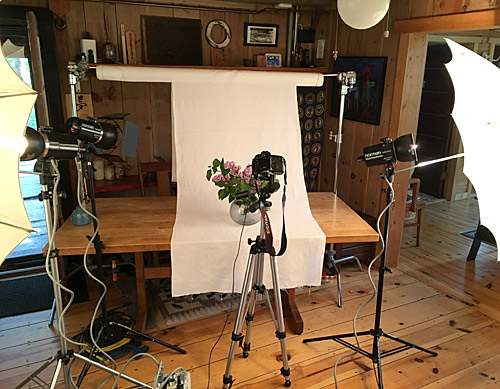
A 3-point set up with the 3rd light on the back drop. (The model light is burnt out, but the strobe still fires.)
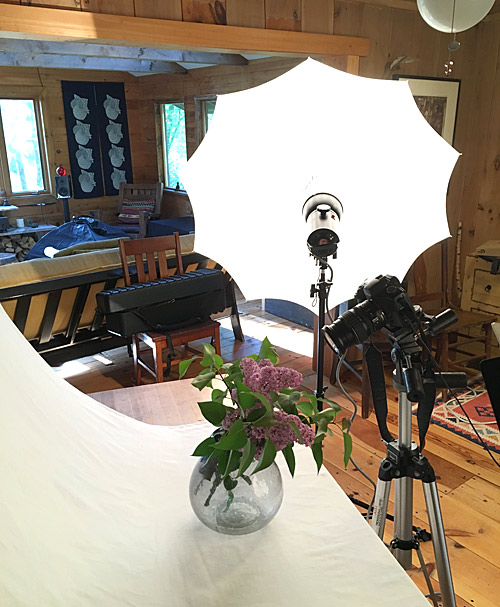
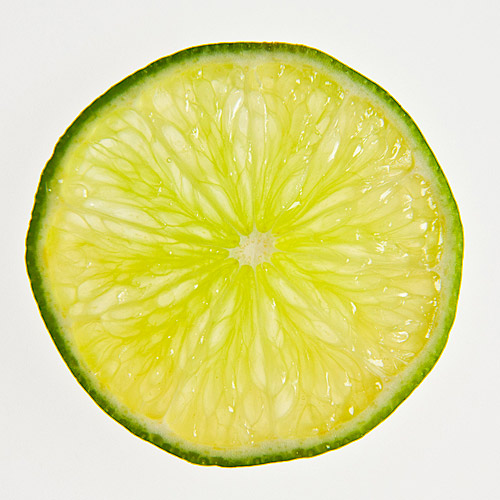
Using the close-up filters.
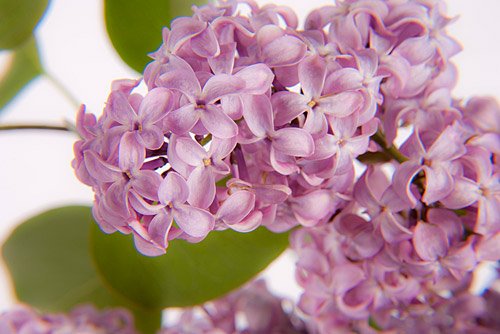
[Click to enlarge]
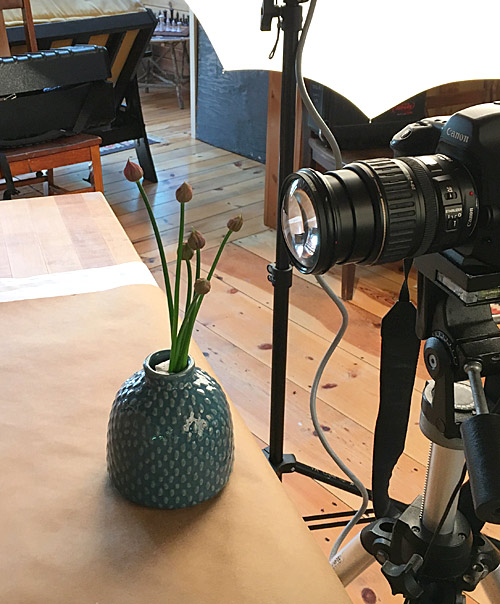
Experimenting with the +10 filter (LOOK AT THAT CONVEX CURVE ON THAT FILTER!).
I ended up liking the +2 and +4 a lot for what I was doing.
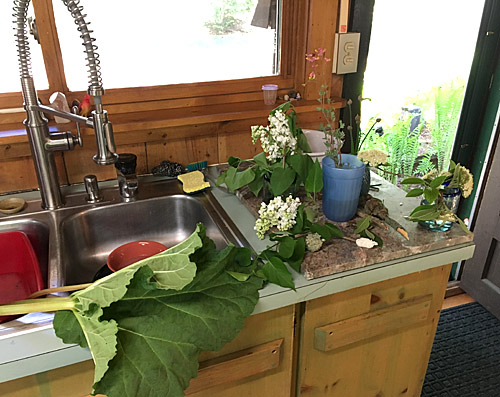
Part of the kitchen was taken over by my nature subjects.
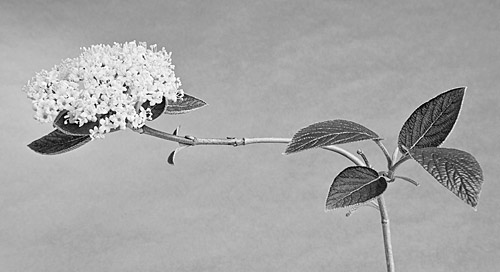
[Click to enlarge]
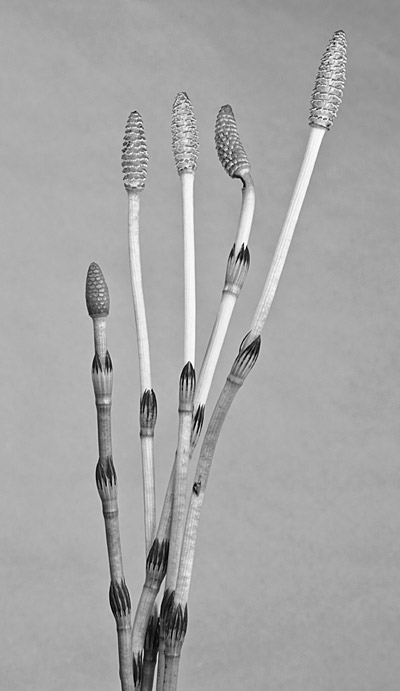
[Click to enlarge] Field horsetail.
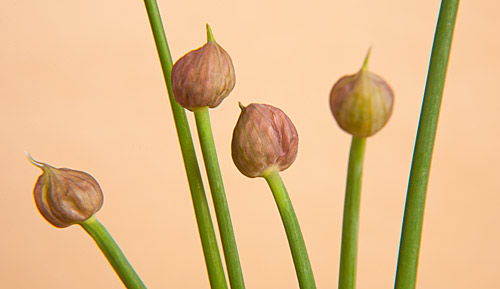
[Click to enlarge] Chives.
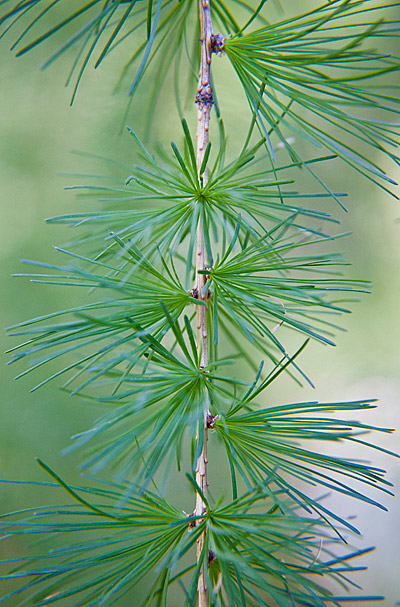
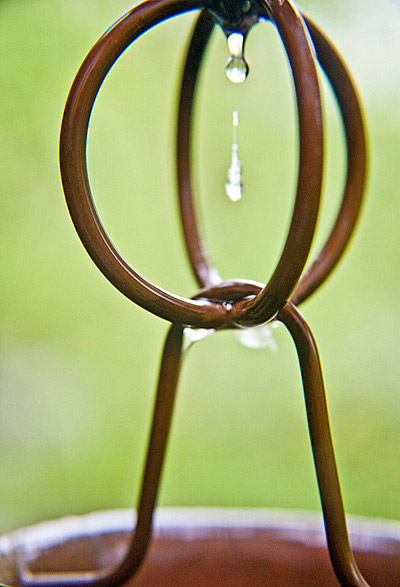
[Click to enlarge] More playing outside with the close-up filters as a break between set-ups inside.
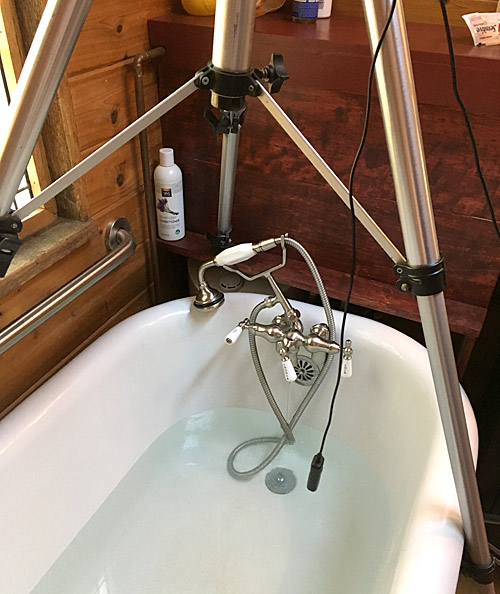
Camera precariously over tub, with cable release hanging down.
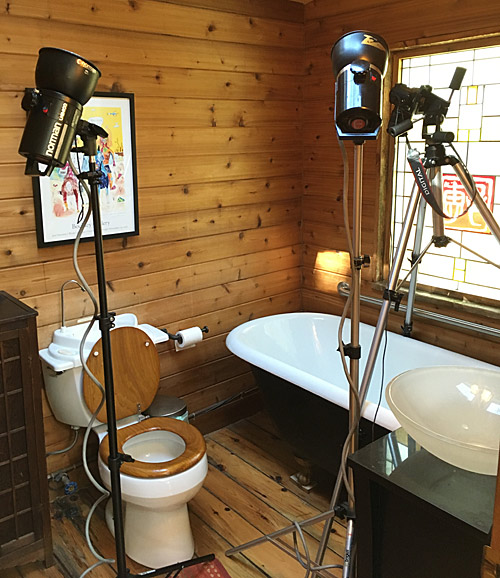
2 bare flashbulbs bouncing off the white ceiling as just a nice soft light.
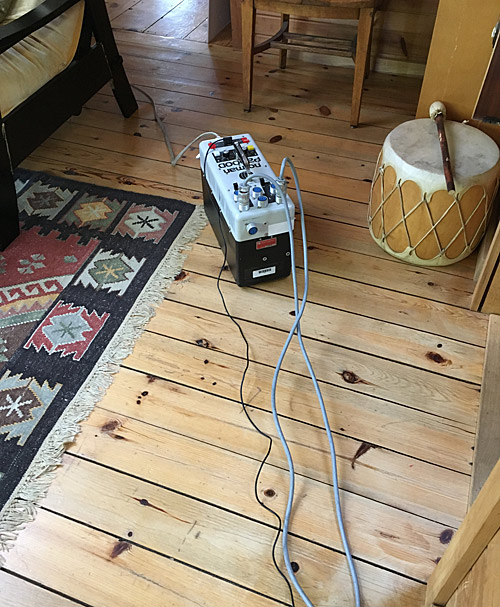
The strobe's power pack (basically an electrical transformer) was
set out of the bathroom WAY out of the way of possible splashes!
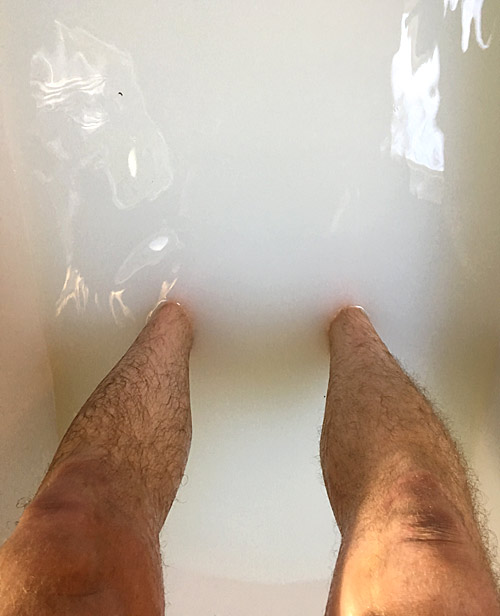
I added about 1/4 of a gallon of skim milk to make the water nicely opaque.
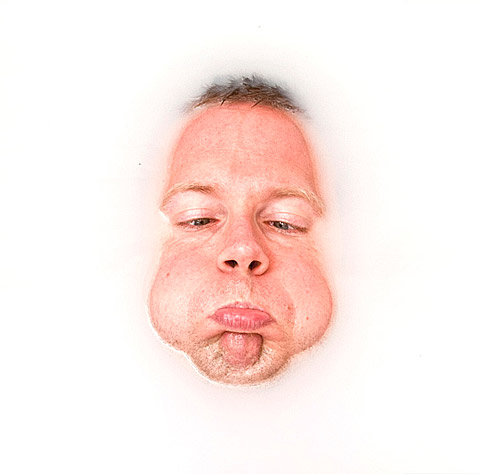
[Click to enlarge]
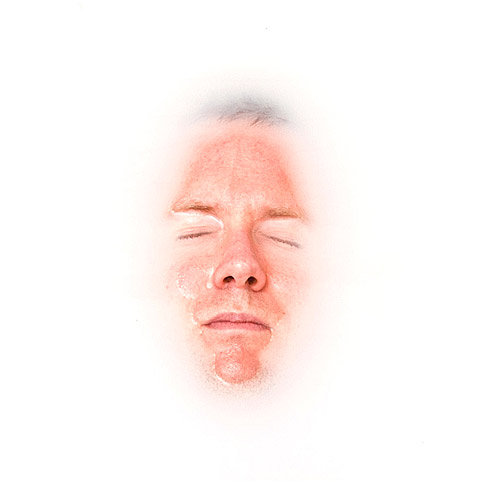
[Click to enlarge]
I went along the river to play with the burning steel wool on night #2. The sparks on the left landed in the deep water. The grassy reeds were flooded (as you can see fiery reflections in the foreground), so there was no fire danger. This night was the first time I could make it that far down there because it was totally covered with water when I got there the day before. I took a number of shots, and I didn't adjust my aperture, and I was pretty amazed at how much darker each subsequent shot was after just losing about another 90 seconds of daylight. I started re-adjusting my f-stop before each shot as I made my last few exposures of the night.
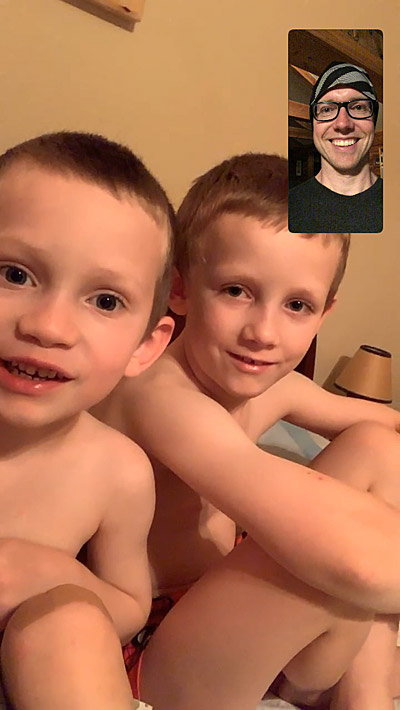
A late Facetime call with my boys before bed! Mama let them stay up late! This was after 10 p.m.
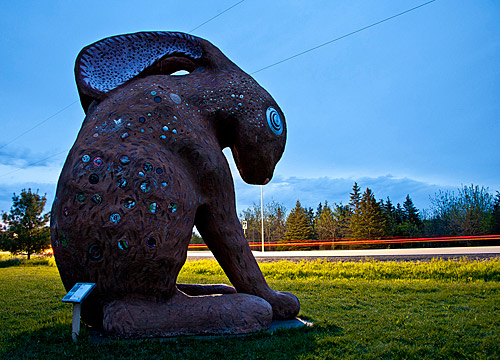
[Click to enlarge] Franconia Sculpture Park at 4:23 a.m.
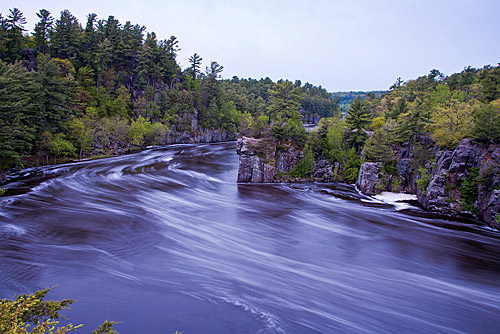
[Click to enlarge] The St. Croix River from Wisconsin’s Interstate State Park around 4:55 a.m.
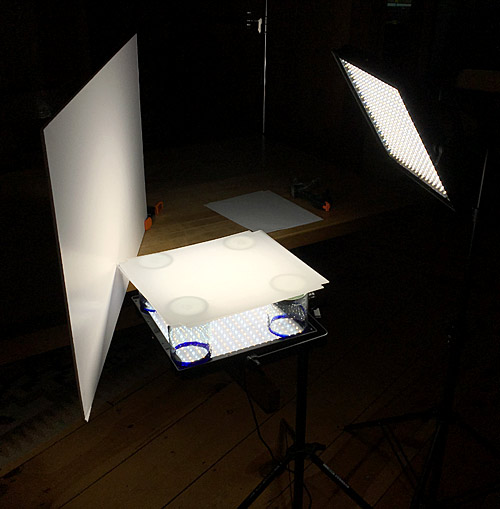
Then it was back to the cabin. I had a new lighting set-up ready to go by 6:30 a.m. - a bonus of getting up so early to shoot is that you can get a lot done before you’d normally get out of bed. Here’s an unusual set-up:
I had one more quick set-up I wanted to try. I have a ring flash that is just a series of "mirror tunnels" that slides over a normal detachable flash, so I wanted to experiment a little with that and it’s shadowless aspect. (The ring sits totally around the lens of the camera, so there’s light coming from every direction and no visible shadows.) I’d like to try this with a human model sometime, but on this trip, I did a little set-up out on the deck:
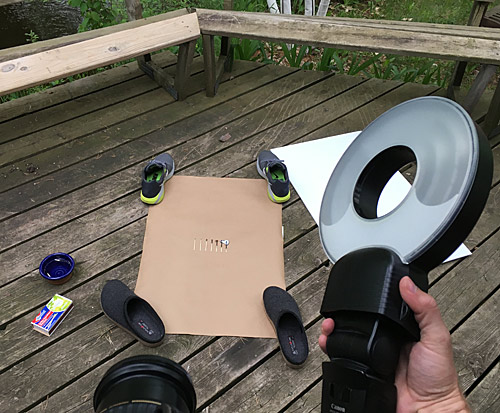
On the deck, with the river to the upper right, eventually shooting straight down.
[Click to enlarge]
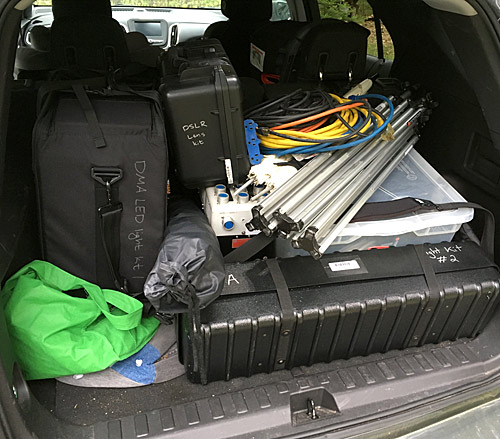
I finished cleaning up the cabin and headed home.
I shot some medium format film with my Holga at the cabin as well. Part of the grant was to help clarify some issues with the Holga for a project in my advanced class. I still have 1 more roll to shoot (I was planning on doing that during the last morning, but it rained), so I'll shoot that, have it processed, make some scans, and be back with that in a few weeks.
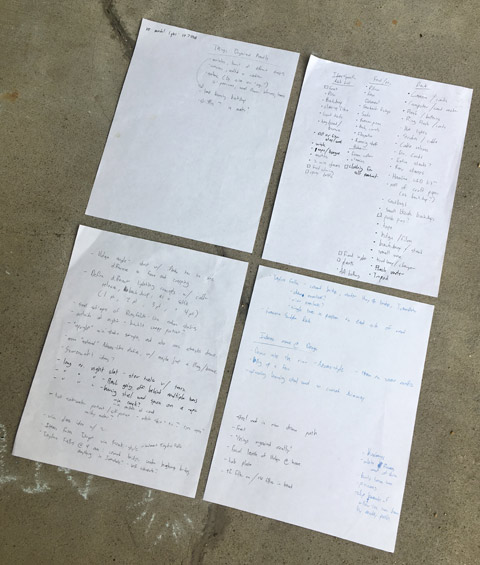
I had a few notes going (and a binder full of inspiration) before and during the trip. I didn't get a photo of this, but I had these 4 pages constantly sitting out on the kitchen island in the cabin to keep jotting down ideas. Here they are back at home post-trip:
Big thanks to Hamline University for setting this money aside for adjunct professors to further their education in order to help their classes! Thanks!


1 comments:
Hi! This is my first comment here so I just wanted to give a quick shout out and tell you I genuinely enjoy reading through your blog posts.
Can you suggest any other blogs/websites/forums that cover the same topics?
Thank you so much!
Post a Comment