Showing posts with label Film. Show all posts

Friday, May 09, 2025

Insta-Worthy Medium Format Shots

I explained what was happening in my last blog post in a recent social media post:

Last month, I did a medium format film / camera demo in my Photo II / Advanced Photo class. I sighed and mentioned a “trend” of not actually shooting with the camera, but instead pointing the camera at your subject and then getting a photo of the ground glass with your phone. After the demo, many students made photos of themselves in that manner using my cameras. 🙄🤷🏼‍♂️

This morning, I stepped outside and tried it myself for the first time (with an old Mamiya twin lens reflex), and made photos of our flowering tree and a pair of tulips in our garden. My students would be proud… I think…

Here were my 2 attempts:

[click each image to enlarge]


See my students doing this in our classroom in my last post.

Monday, May 05, 2025

Playing with Medium Format

I brought in a couple of medium format cameras to my Photo II / Advanced Photography class last month: a few twin lens reflex cameras along with my Mamiya RB 67.

After class, a few students stuck around to check them out in more detail. And they started taking "cutesy" Instagram-worthy pics with their phones looking down onto the ground glass. Here's a pic of the student on the left posing with a camera while the student in the middle makes a photo of her on the ground glass of another camera:


Click image to enlarge.

Oh, and note my drawing on the board of an unrolled roll of medium format film, showing the paper backing. I destroyed an old roll of expired film during class to show them how it works, but I had that drawing up on the board before class to discuss it before we got real "hands on."

Monday, February 10, 2025

PhotoFlow and Busted Film

Last week, half of my Photo II / Advanced Photo class processed film. One of my students was doing it for the first time. And everyone's film turned out!

I mixed a fresh batch of PhotoFlo, and I love/hate how it's so "soapy" that the printing has been rubbing off the bottle:


Sorry for the quick and out-of-focus pic... trying to get it before my students came back in.


Text smearing off the bottle.


Rinsed tanks and reels after successful processing!

Oh, and I had a "first" in the Concordia darkroom - this has happened before, but the last I recall it happening was back in my CVA days over a decade ago.

A student used a fully manual 35mm camera for the first time (Canon AE-1), whereas in the past, she had a newer / more automatic 35mm camera (like a Canon Rebel 2000). She was unsure how to start rewinding it, so we did it together. Only I IMMEDIATELY felt no resistance while rewinding - there was no film being rewound. Usually, that means the film was never fully loaded and it just "sat there" not being fed through the camera. But I didn't believe that happened in this situation, because we loaded the film together the week before, and we noted that the rewind knob was turning as we advanced the film, so the film appeared to be loaded properly and moving through the camera.

I asked if she really tried to force the advance lever when she was near the end of the film, and she wasn't sure. I HOPED that she just tore the film off the spool as she finished shooting the roll. So we waited to open the camera until the lights were off and everyone else was loading their film onto reels. SURE ENOUGH, she had just muscled her film right off her film spool! I cut it clean and handed her the film in the dark and had her load it up for processing. When we turned the lights back on, we saw how it tore off a few inches from the spool:


Quite the way it tore! (Scissors just holding the film flat.)

I figured it would have pulled off from where it was mechanically attached to the spool, and not just randomly near the end. But irregardless, her film ended up turning out, and she was super happy that I predicted what had happened before she just opened the back of her camera in the light and ruined her film. It was a good day in the darkroom!

Tuesday, December 10, 2024

Yellowstone with my Canon AE-1

Back in October, my family took a 6-day, 2500 mile road trip through North Dakota, into Yellowstone, down through the Tetons, and back home through South Dakota. I brought some film that expired in 2013, and I shot it with my Canon AE-1 Program that's older than me that I've had since I was 17 years old. The resulting images are somewhere between "art" and "touristy" photos (I think)...

[click each image to enlarge]


Just outside of Yellowstone's east entrance.


Along the shore of Lake Yellowstone.


A classic: Old Faithful.


Walking among the pools in the Upper Geyser Basin.


Moments after a close encounter with a bison!


My boys on a snowy hike...


... working our way to Mystic Falls.


Overlooking Grand Prismatic Spring.


The lower half of the 200' Fairy Falls.


Pulling out of Yellowstone on a snowy morning.


Starting a hike in Grand Teton around Lake Jenny.


Hidden Falls up in the Tetons.


My family starting their way down from Inspiration Point in the Tetons.


A frosty final morning in Grand Teton.


Like the image of Old Faithful, here's another common pic: Sylvan Lake in South Dakota on our way home.

Saturday, October 26, 2024

Film Processing!

We've had sucess in the darkroom at Concordia so far this semester! Here are 2 pics from processing film a few weeks ago:


Love seeing the happy faces when images appear!

We will be shooting and processing film in a MUCH BIGGER CLASS at the University of Minnesota here shortly. That class started as half of the semester in the digital lab, and has just transitioned over to the last half of the semester in the darkroom. My students have a quick photogram project due on Monday before we jump to film cameras. Stay tuned!!

Thursday, February 08, 2024

Film Processing

We've had a few successful days of processing film in class this week:

Tuesday, October 10, 2023

Successfully Processing Film

Last week, I posted about handing out 35mm cameras to my Photo I students. Today, we processed film! We had a 100% success rate for these students processing film for the first time. 🎉📷❤️


I love it when the "drying sink" is overflowing!


Thursday, March 02, 2023

Processing Film

A few weeks ago, we had a very successful day in the darkroom. We had 2 groups go through and process film, and everyone's turned out. Here's a quick short I shared @PhotoStenzel on Instagram:

Here are 2 videos from last semester in the darkroom of my boys making their first darkroom prints.

Tuesday, January 31, 2023

Film and Paper Order!

Here's around $800 of B&W film and paper sitting in my office for my 3 courses at Concordia University this semester:


70 rolls of film and 38 packs of paper!

Tuesday, April 05, 2022

Last Day Teaching Film?

I just posted this:


Friday, April 09, 2021

North Shore Holga Photographs

It had been nearly a year and a half since I last got out my Holga. But when the boys and I took a drive up the North Shore 10 days ago, I had to pack a few rolls of film. Here are some images made as we headed north along Lake Superior.

[click each image to enlarge]


Gooseberry Falls.


Black Beach (with my boys climbing those rocks back there...)


Sugarloaf Cove.


The backside of Sugarloaf.


A windier day at Sugarloaf Cove (we stopped there twice).


A gale warning in Grand Marais


A few waterfalls along the Cascade River.


My Holga all taped up between outings at our Airbnb.

Thursday, February 04, 2021

Who Shoots Film?

Here are some great "film shooting patches" from TheMikePadua:


Wednesday, July 17, 2019

Holga Tests

I got my Holga negatives scanned over this past week from my mini getaway as part of my faculty grant 6 weeks ago. Part of the grant allowed me to shoot, process, and scan a few rolls of medium format film shot with my Holga (a plastic "crappy" camera that embraces light leaks, vignetting, and mistakes that we use for a quick film-based project in my Digital Photography II course at Hamline University). I was able to spend time (and film) figuring out what is actually captured on film vs. what the viewfinder shows, how close you can acceptably focus, and where different focus "icons" actually focus.

First, I started by setting up a shot with the Holga, and then photographing what the viewfinder showed me with my iPhone so I could compare them once the film was processed and scanned. I had to zoom in just a bit with my iPhone to have my digital image framed the same way as the Holga viewfinder. Here are a few pairs showing the Holga image first:


Outside my cabin with the Holga.


iPhone shot. I captured a little more (but not much) with the Holga.
A known issue. But surprisingly similar - I thought it'd be more dramatic.


Looking up the chimney of the other cabin on the property.


Again, just a bit of a wider shot with the Holga, but not dramatically different.


The driveway.


Much less sky, and much less foreground in this iPhone shot vs. the last Holga shot.

All of these were not nearly as different as I thought they could be. The Holga shots were a bit wider, but not by much.

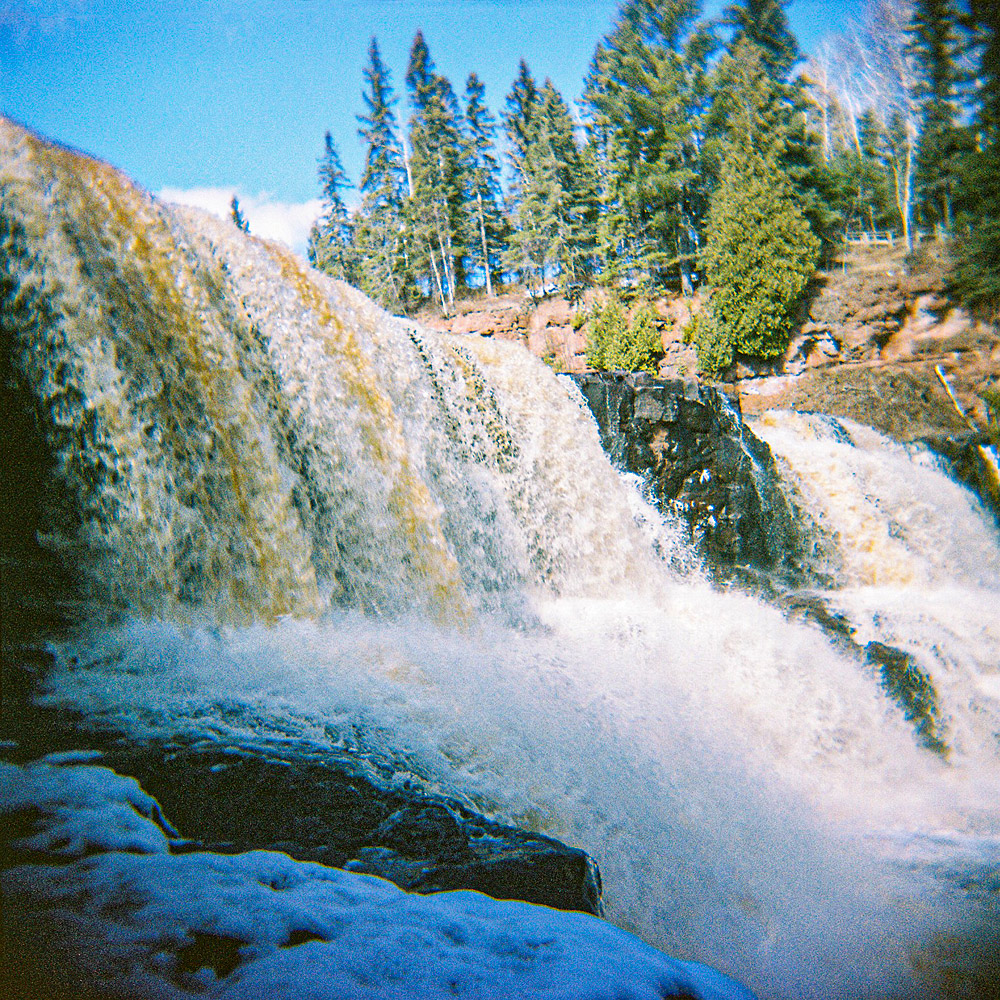
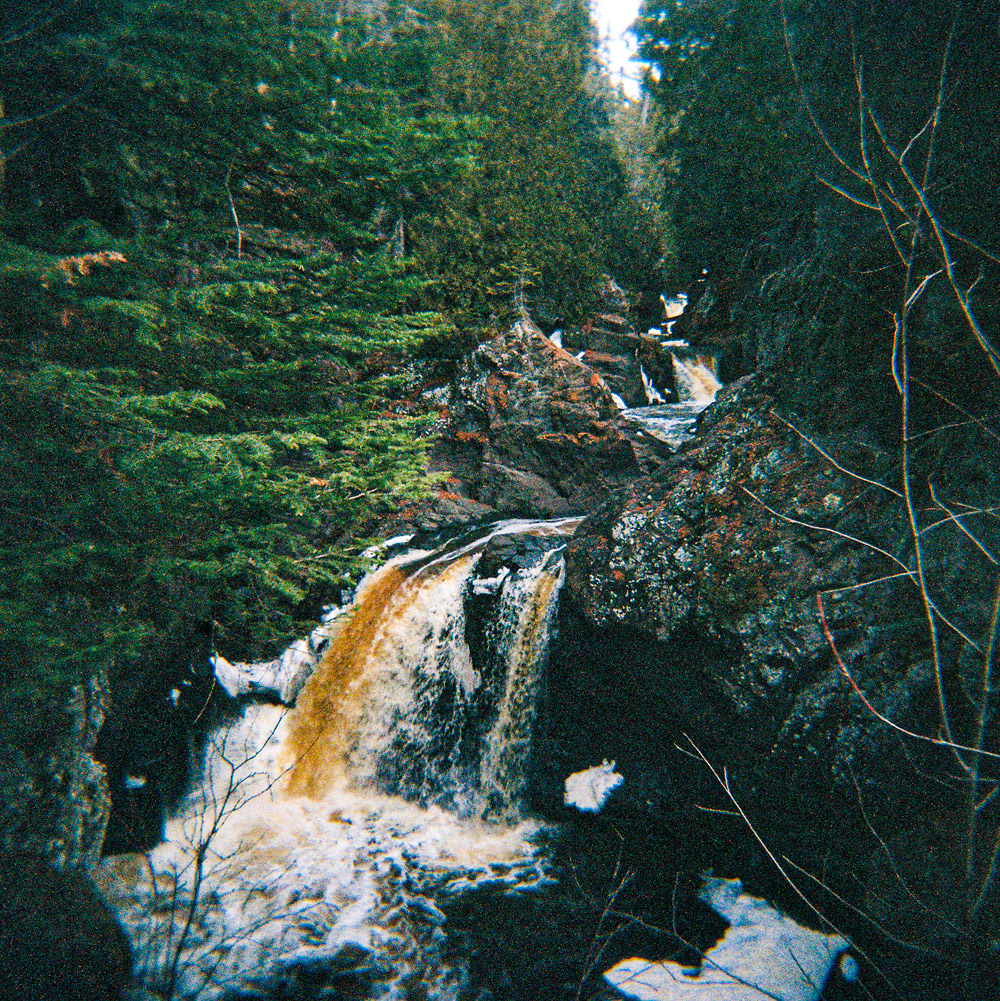
The cabin I stayed in was in a heavily wooded area with a stream running through it (see this video I posted earlier this month to see what I mean), but just a mile away I found an open field to help illustrate the Holga's lens's depth of field at different focal points.


Focused to infinity. Note the sharp trees in the distance.


Focused as close as it goes. The foreground is just a bit sharper, but the background
is much less in focus. More dramatic in the background than in the foreground.


A GIF showing a bigger slice of each image overlaid. Watch the background go
IN and OUT of focus as the foreground (much more gently) goes OUT and INTO focus.

I created another helpful GIF to show what the HOLGA SHOOTS compared to what the HOLGA SEES compared to what my IPHONE SEES. Here's a Holga photograph I made looking up into a yet-to-be-fully-assemebled teepee on the grounds where I was staying:


I also made the same shot with my iPhone. And then I made a slightly zoomed-in shot on my iPhone that was cropped the way I saw it through the Holga viewfinder. The most helpful GIF I made is when I overlay these 3 images:


First rectangular shot was what my iPhone saw at the same spot where I held the Holga.
The second square image is what I saw through the viewfinder of my Holga.
The third (slightly skewed) image is the resulting Holga shot.

The biggest thing I take from these 3 images is that even though the Holga viewfinder ALWAYS shows less than what my iPhone sees, the final image captured on film appears to be very close to the focal length of my iPhone. (I have an iPhone SE for what it's worth. I have found the focal length to be equivalent to 29 mm. Newest iPhone models with 2 lenses have a wide angle around 26 mm and a telephoto around 52 mm.) That final square Holga image is just about as wide as the initial un-cropped iPhone image (if the top and bottom were cut off to make it a square). This is very helpful to me and to my students. It's a decent visual definition of what the Holga will actually capture: "about as wide as an unzoomed iPhone shot from the same vantage point, even though the viewfinder in the Holga is showing a tighter cropped version."

I shot the last roll once I was back home because the final morning of my stay in Wisconsin was a rainy one. I got out a tape measure and tested just how close I could be to my subject with it still being sharp. In case you're not familiar with a Holga, the lens has these 4 symbols to represent where to focus based on the distance to your subject:


Single person: 3 feet. Small group: 6 feet. Large group: 15-18 feet. Mountains: anything farther.

I measured a shot exactly 3 feet from the film plane while focusing as close as it goes:


Our front planter, 3' from the film plane. Sharp.


I framed it like this, with the flowers or planter being slightly cropped off on all 4 sides. The closer
you focus, the wider the "actual/captured" Holga image, despite what you see in the viewfinder.


Looking through our rose bush, with the closest flowers just 18" away. Too close. Too blurry.


Close-up of left side of that last image showing out-of-focus flowers on the right,
but flowers on the far left are far enough back to be back in focus (around 3').


One more from our front blvd garden where I had framed the light pole
on the very far right of the viewfinder. So no surprise it appeared to be
*near* the right edge, but not *at* the right edge as I had framed it in the viewfinder.

I have a few more Holga images I’ll get fixed up shortly to share, but these images in this post are the ones that I’ll be able to use in class to help my students work through some of these focus/framing issues with these fun plastic cameras. I have more examples as well, but what's posted here is a good start.

Click here to see my first post with a lot of images from my mini “photographic lighting camp” in a cabin in Wisconsin.

  © Blogger template 'Minimalist F' by Ourblogtemplates.com 2008

Back to TOP