For my February challenge, I created my first portfolio book. I've created my own self-published photo books a few times in the past, but they were never created with the intention of being a "portfolio." I received a coupon code to make a photo book through Saal-Digital (and they asked that I share my experience). So I got to work and downloaded their book-making software.
[click each image to enlarge]
Inside their software. Pretty simple and relatively intuitive.
Previewing the book as it's nearly complete.
Note that once you pick a book style and start adding photos and pages, it continually updates the price in the lower right: $142.59 right now (which was great because I had a $150 coupon code). My book ended up being 40 pages with a total of 51 images. About my only issue with the software was that it didn't have (or I couldn't find) a "fit frame to object" -like option when inserting images. I was constantly re-working their frames until they were about the proportions of my photographs. (I got an email from someone at Saal asking how I was doing and if I had any questions, and I asked about that, but got no response.)
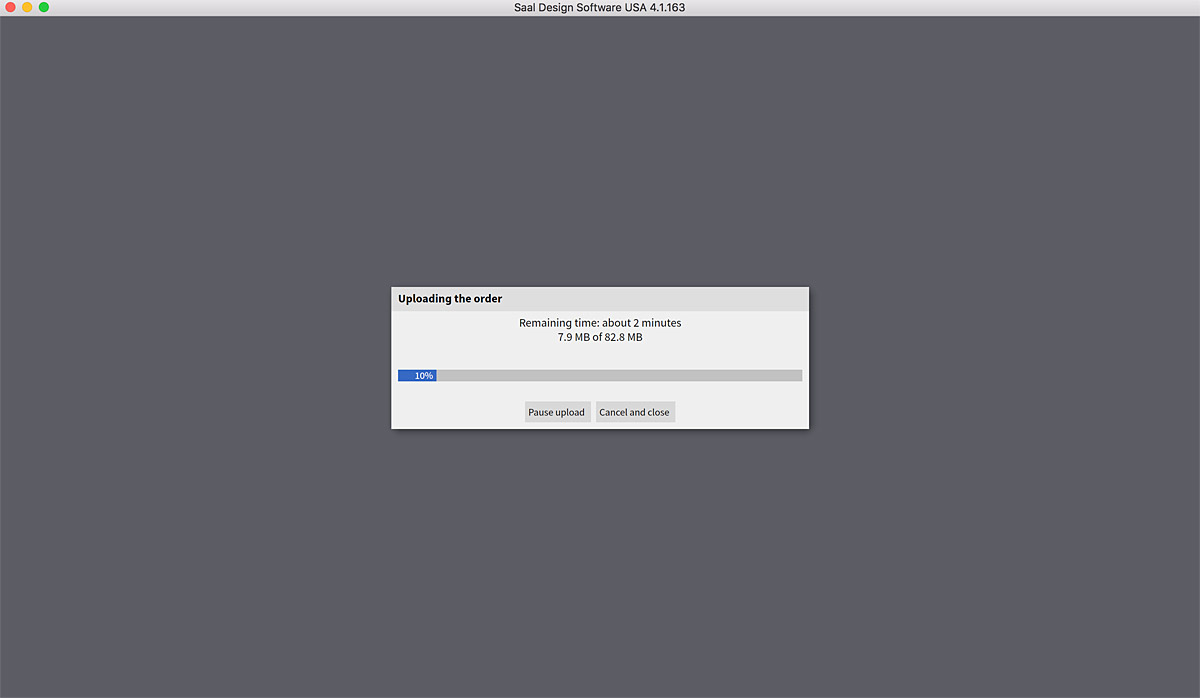
The software - along with the saved project - is small. Once I completed my order, it then sent the design and the files along, and that took just a few minutes as it uploaded the full size image files from my computer:
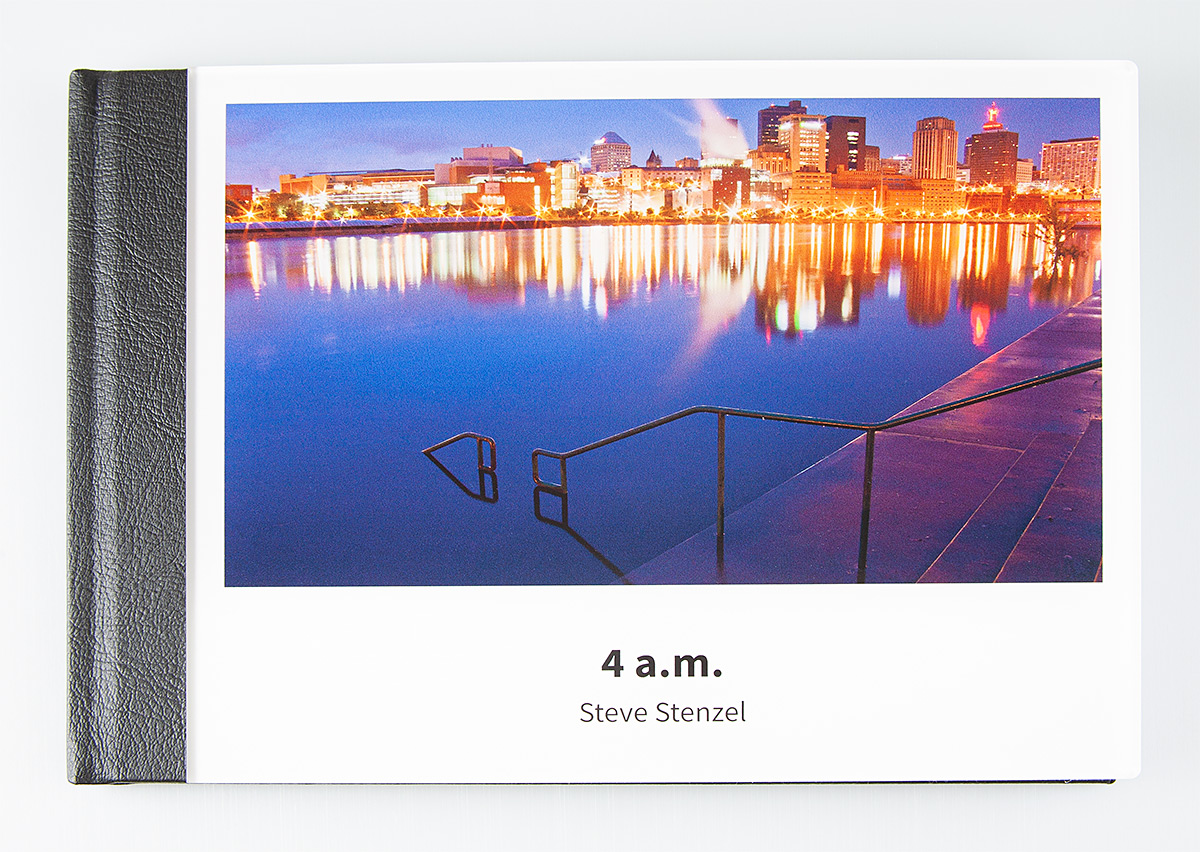
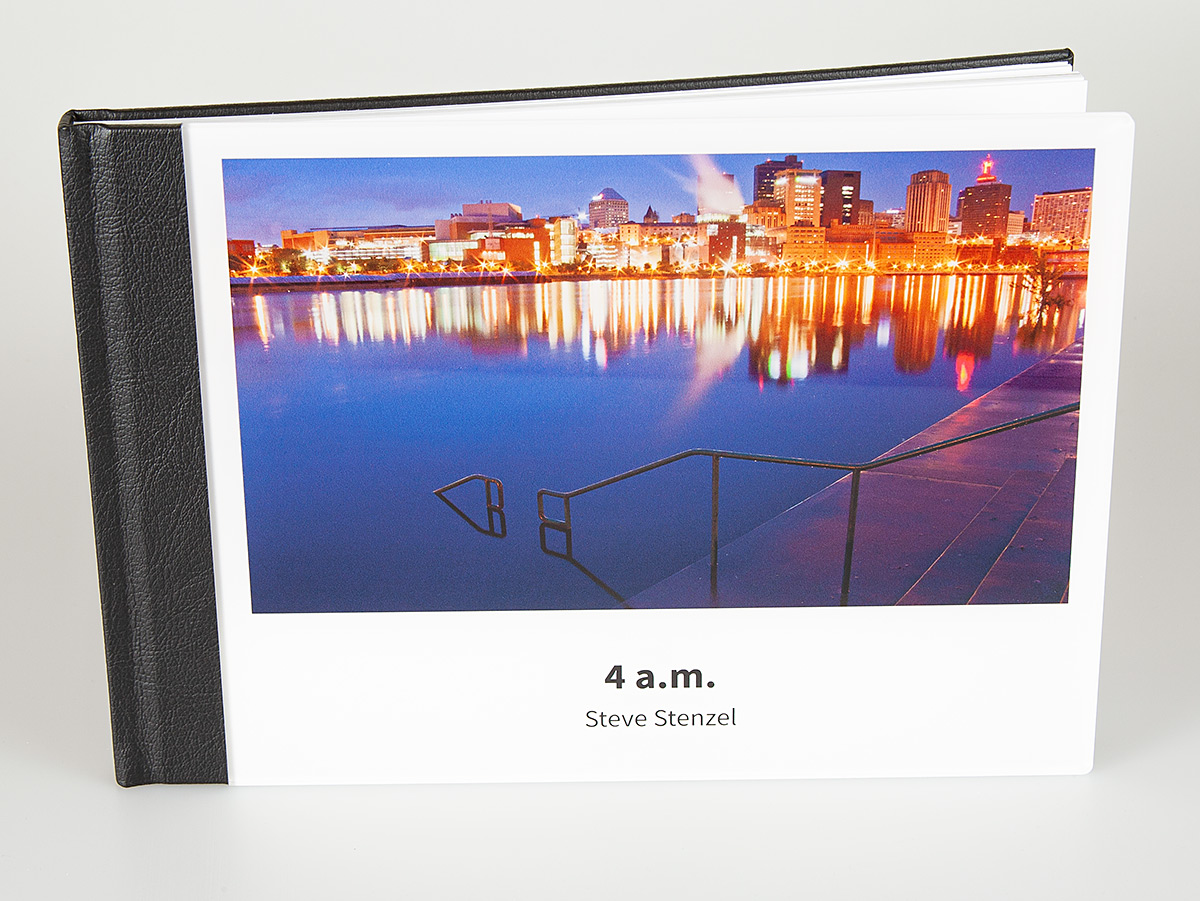
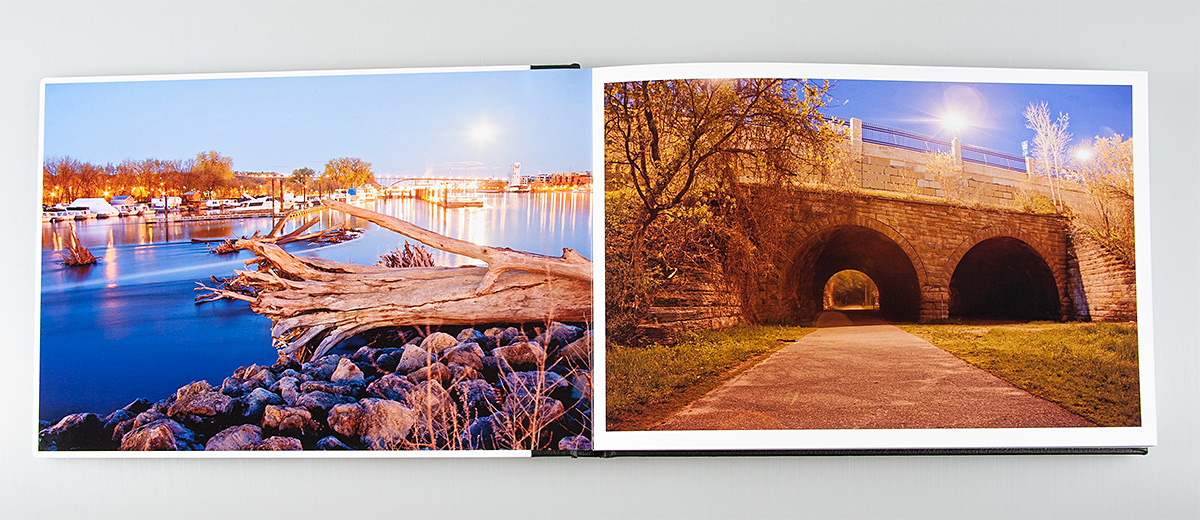
It was shipped, and actually came a few days before expected. It was just over a week before I got my book. Here are some photos of my new "4 a.m." portfolio book:
[click each image to enlarge]
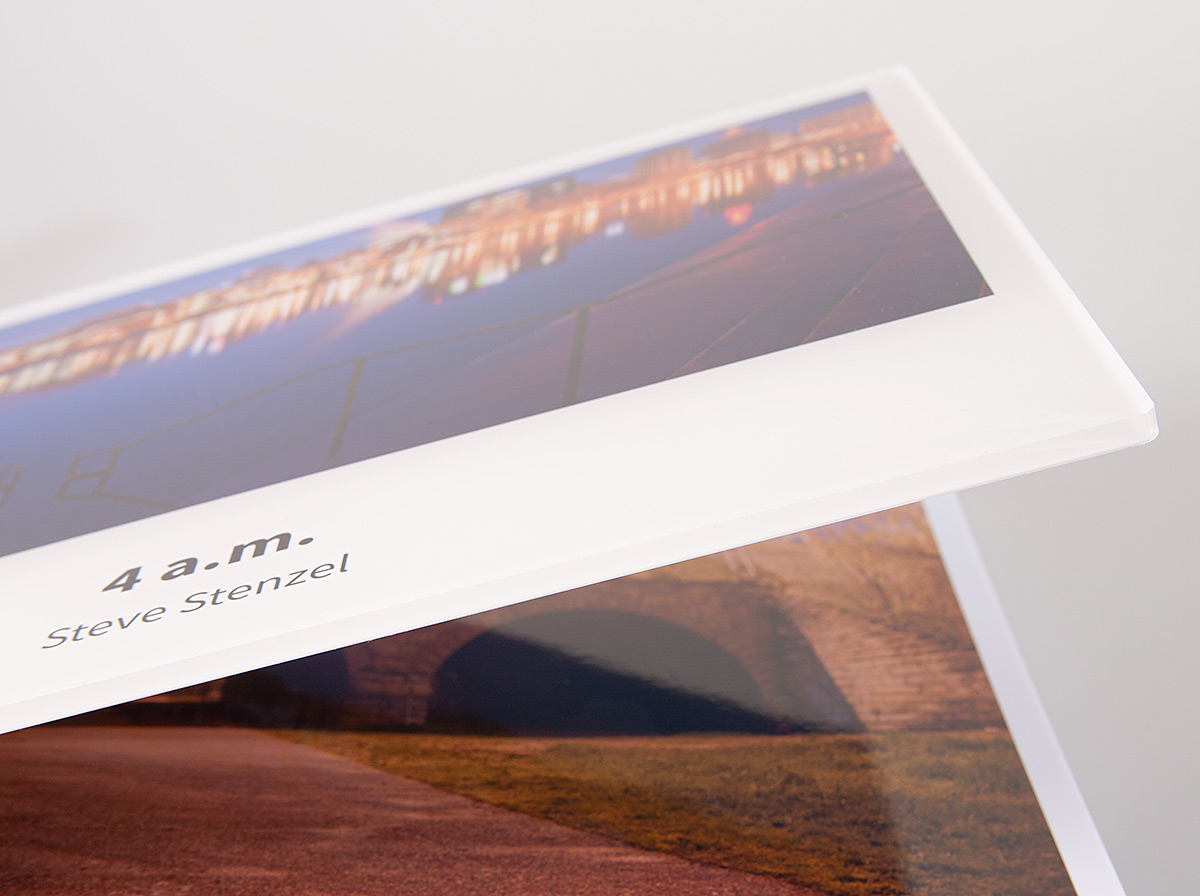
The cover is under 1/4" plexiglass, so here's a close-up of that detail.
Another image to show the thickness of the plexiglass cover.
The first spread: a full bleed on the left (that's just the edges of the cover peaking around) and some small borders on the right.
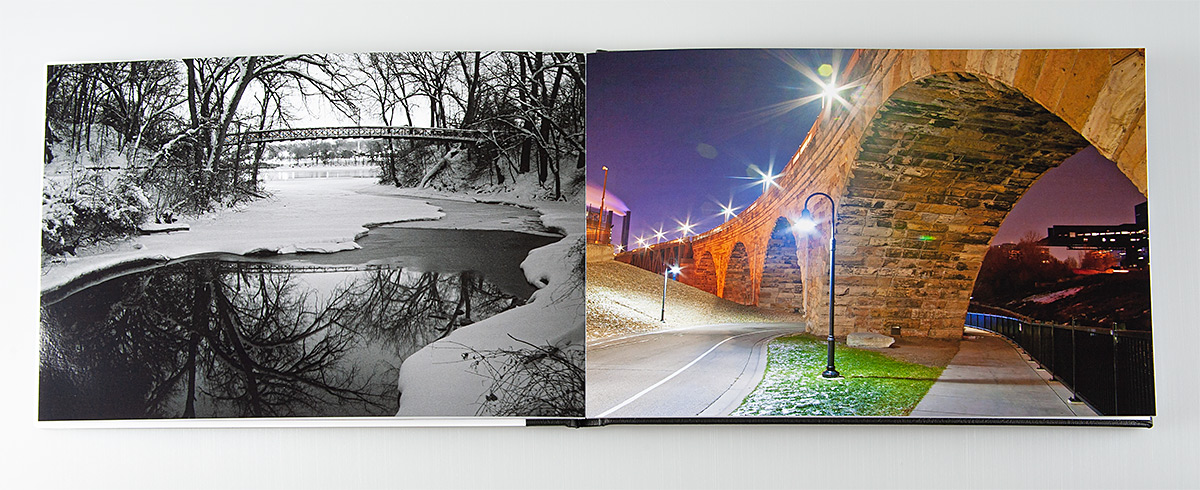
Some full bleed Minneapolis bridges.
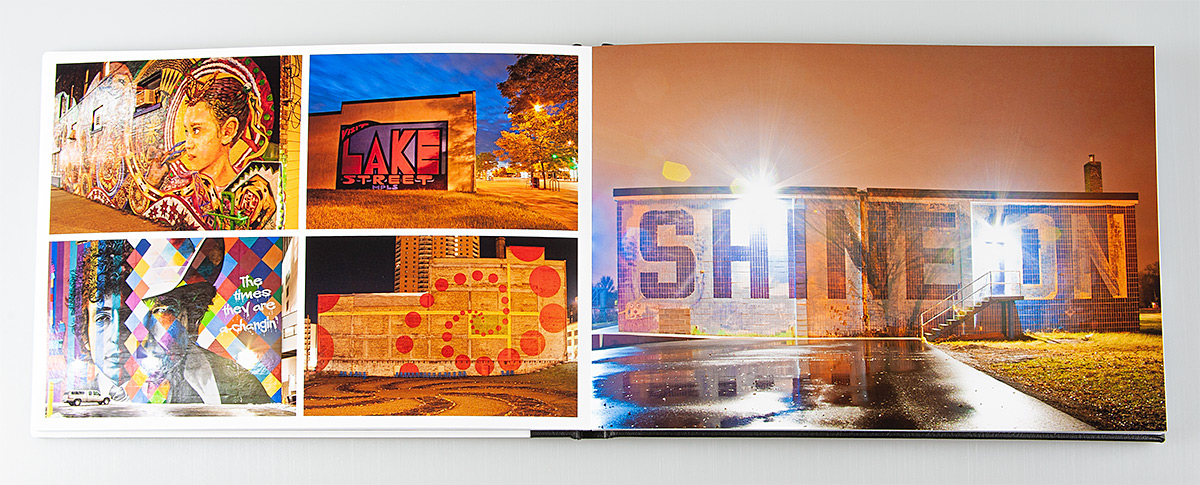
Some of my 4 a.m. "mini mural project" from a few years ago. Click here for more on that.
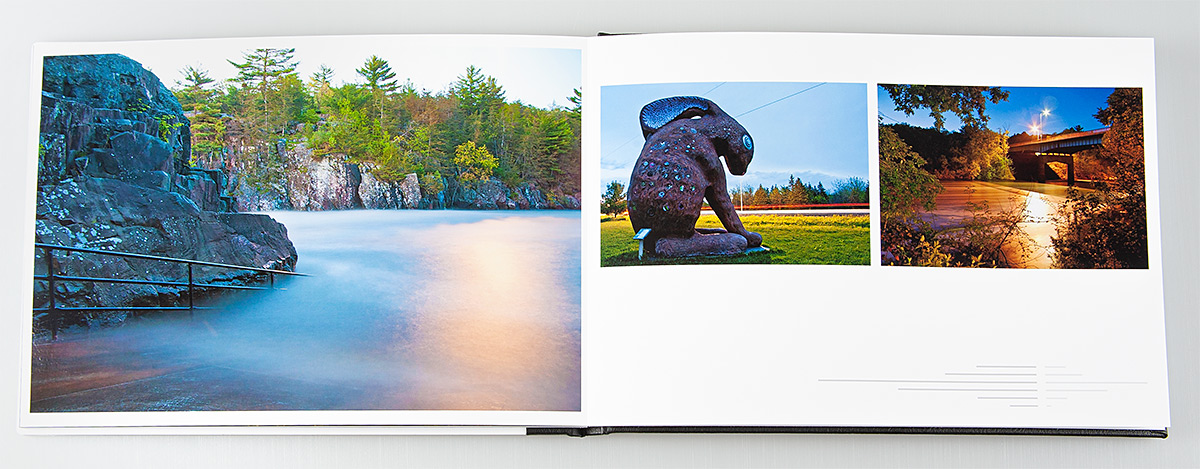
Notice from those photos above that it's nearly a true "lay flat" design - there's no forcing pages open or losing detail in the gutter. And the pages are very thick and glossy. The book is quite a presence as one flips through it. The print quality is what I had hoped (and I had high hopes) - no complaints there. As mentioned above, the book contains 40 pages and 51 of my "4 a.m." pieces from the last 6 years, arranged (loosely) in chronological order.
Nice work, Saal-Digital! Thanks for helping me with my February "monthly challenge."
I surprised my wife with a Chatbooks subscription for Valentines Day. I had 14 books from my Instagram feed printed and shipped to us:
My first Instagram pic of my first son pulling himself up for the first time on the cover of our first Chatbook.
Chatbooks is an app you can install that syncs to your Instagram account. (You can also do something through Facebook and something through your "favorites" folder on your iPhone, but I haven't done that, so I can't speak about either of those options.) For $8 (INCLUDING SHIPPING) they will take the Instagram photos you select and print 60 in a book in chronological order. You can choose to have them include date, location, and caption if you wish.
Our first 7 books.
A look back nearly 5 years ago to a trip to the Minneapolis Institute of Arts with my (then) 11-month-old (now kindergartener).
And every time you have enough Instagram photos to make a new book, they will automatically print and ship a new one for you. (My understanding is that they give you time to edit it or take out photos you don't want in it before it's printed.) They're always just $8.
Here's a QUITE hilarious video that tells you how it works. PARENTS, YOU NEED TO WATCH THIS:
- It's easy. As the video says, there's no formatting. Just select the photos you want.
- It's automatic. They'll keep printing/sending if you want them to.
- When you start you account, you can choose to get all your "old" books right away (like the 14 I just got), or you can space them out. There are different options like getting 1/month or 5/month until you're caught up. And being shipping is free, there's no extra cost to do that.
- It prints horizontal and vertical images just fine. I wasn't sure if it would crop everything to a square, but it didn't. It printed the photos the original way they were published on Instagram.
- You can choose if you want to show date, location, and or caption. Because I don't tag too many locations, I took that one off and left date and caption on.
- The cover photo defaults to the first photo in the book, but that's easily changed. I changed a few of my books, and left some with the cover being the first photo as well.
- It's pretty quick to get started. My Instagram account has nearly 2000 photos, and I got it down to just over 800 pretty quickly. (I could have spent a LITTLE more time fine-tuning it, but they still all look good.) And now it will be easy to stay caught up with future books.
CONS:
- You can't override any of the formatting. There were 2 places (among the 800+ pages of my 14 books) that I would have liked to have adjusted things myself, but you can't.
- You have to start from the BEGINNING of your Instagram account. You can't just select a random selection of photos to make a book, and then make a different book with different sections. (If that makes sense.) You have to start from the beginning and work through chronologically. Now I think there's a way around this that I just haven't explored - I think you can make a "custom" book with random photos, but again, I haven't tried that yet.
- Shipping/printing is slow. This really isn't a big deal, but it's worth noting if (you were like me and) you want to get your "old" books by a certain date. Like Valentine's Day. You can spend an extra $2/book to get it sped up, but at this point, I don't care how fast the books come once they're made.
- Some emojis don't print. OH THE HORROR!! Here's an example of emojis that WORKED and emojis that DIDN'T:
The heart and swimmer emoji turned out fine...
... but the American flag didn't come through.
NEUTRAL: (issues that aren't good or bad, but things I'd like to point out)
- Print quality is fine. It's not the best, but it works.
- Paper thickness is good. It's what it needs to be for books that size, without being SUPER sturdy.
- This is for "cute" photos (good for your family or possibly for gifts for your kid's grandparents), and doesn't have a real "professional" application. Don't make a "photo book" of your work with this book. Make an album of your cute kids, your travels, etc.
From 2.5 years ago: my youngest when he was just 2 months old.
Bottom line: I like my subscription and will continue getting books made. I average about 1 Instagram post/day, and once I edit out what I don't need printed, I would suspect I'd have 60 pics every 90-120 days or so. That's 3-4 books/year, which is $24-$32/year to have my favorite family photos archived in print. Totally worth it! Thanks Chatbooks!
My dSLR sensor was dirty. (Technically, the filter over the sensor, but whatever.) It had a lot of "schmutz" on it - that's a technical term that I share with all my students. Here, take this photo as an example: here's an unedited photo from my gallery documentation from the "Reverberations" show at Form+Content and Traffic Zone galleries earlier this year:
An overall photo.
Cropped in on some of the schmutz on the upper right.
So I had to do a lot of cloning to fix up all those images. That was stupid. It was time to clean my sensor. I picked up the Eyelead SCK-1 kit online:
It's all in this tiny box.
The directions on the box. There were more detailed instructions inside, but it's basically "stamp the sticky bar on your sensor, then stamp it on the sticky paper to remove any debris; then repeat on other parts of the sensor."
Inside the case. The white sheets under the handle are the viscous paper used to clean the sticky bar after each use.
Close up of the sticky bar in it's little plastic case.
I was so nervous using this. I was always told never to mess with your sensor, but mine needed to be cleaned. I had tried gentle air-blown methods, but I never tried anything that was meant to TOUCH the sensor. I opened my camera, stamped the sensor, pulled it out, and stamped it on the viscous paper. The paper is REALLY sticky, and I really had to pull the sticky bar off it (but that makes sense - it needs to be stickier than the sticky bar so it can pull the schmutz off the sticky bar).
Honestly, the process was very nerve-wracking. I was afraid I was hurting my sensor. It was time for a test: I put the lens back on and took a photo of a white wall in my porch. I zoomed in on the photo and looked all around it. Most of the schmutz was gone! I saw a few more pieces, so I cleaned a few areas once more (remembering that schumtz in the upper right of the image means it's on the lower left on the sensor).
All done. A few pieces of viscous paper used, but plenty more left for future cleanings.
Overall, I'm really happy with the job this did. I'll use this again when schmutz starts to appear. Check it out here.





 Posts
Posts


